|
Affordable Injectors By Jake Morton
|
Let’s get started!!
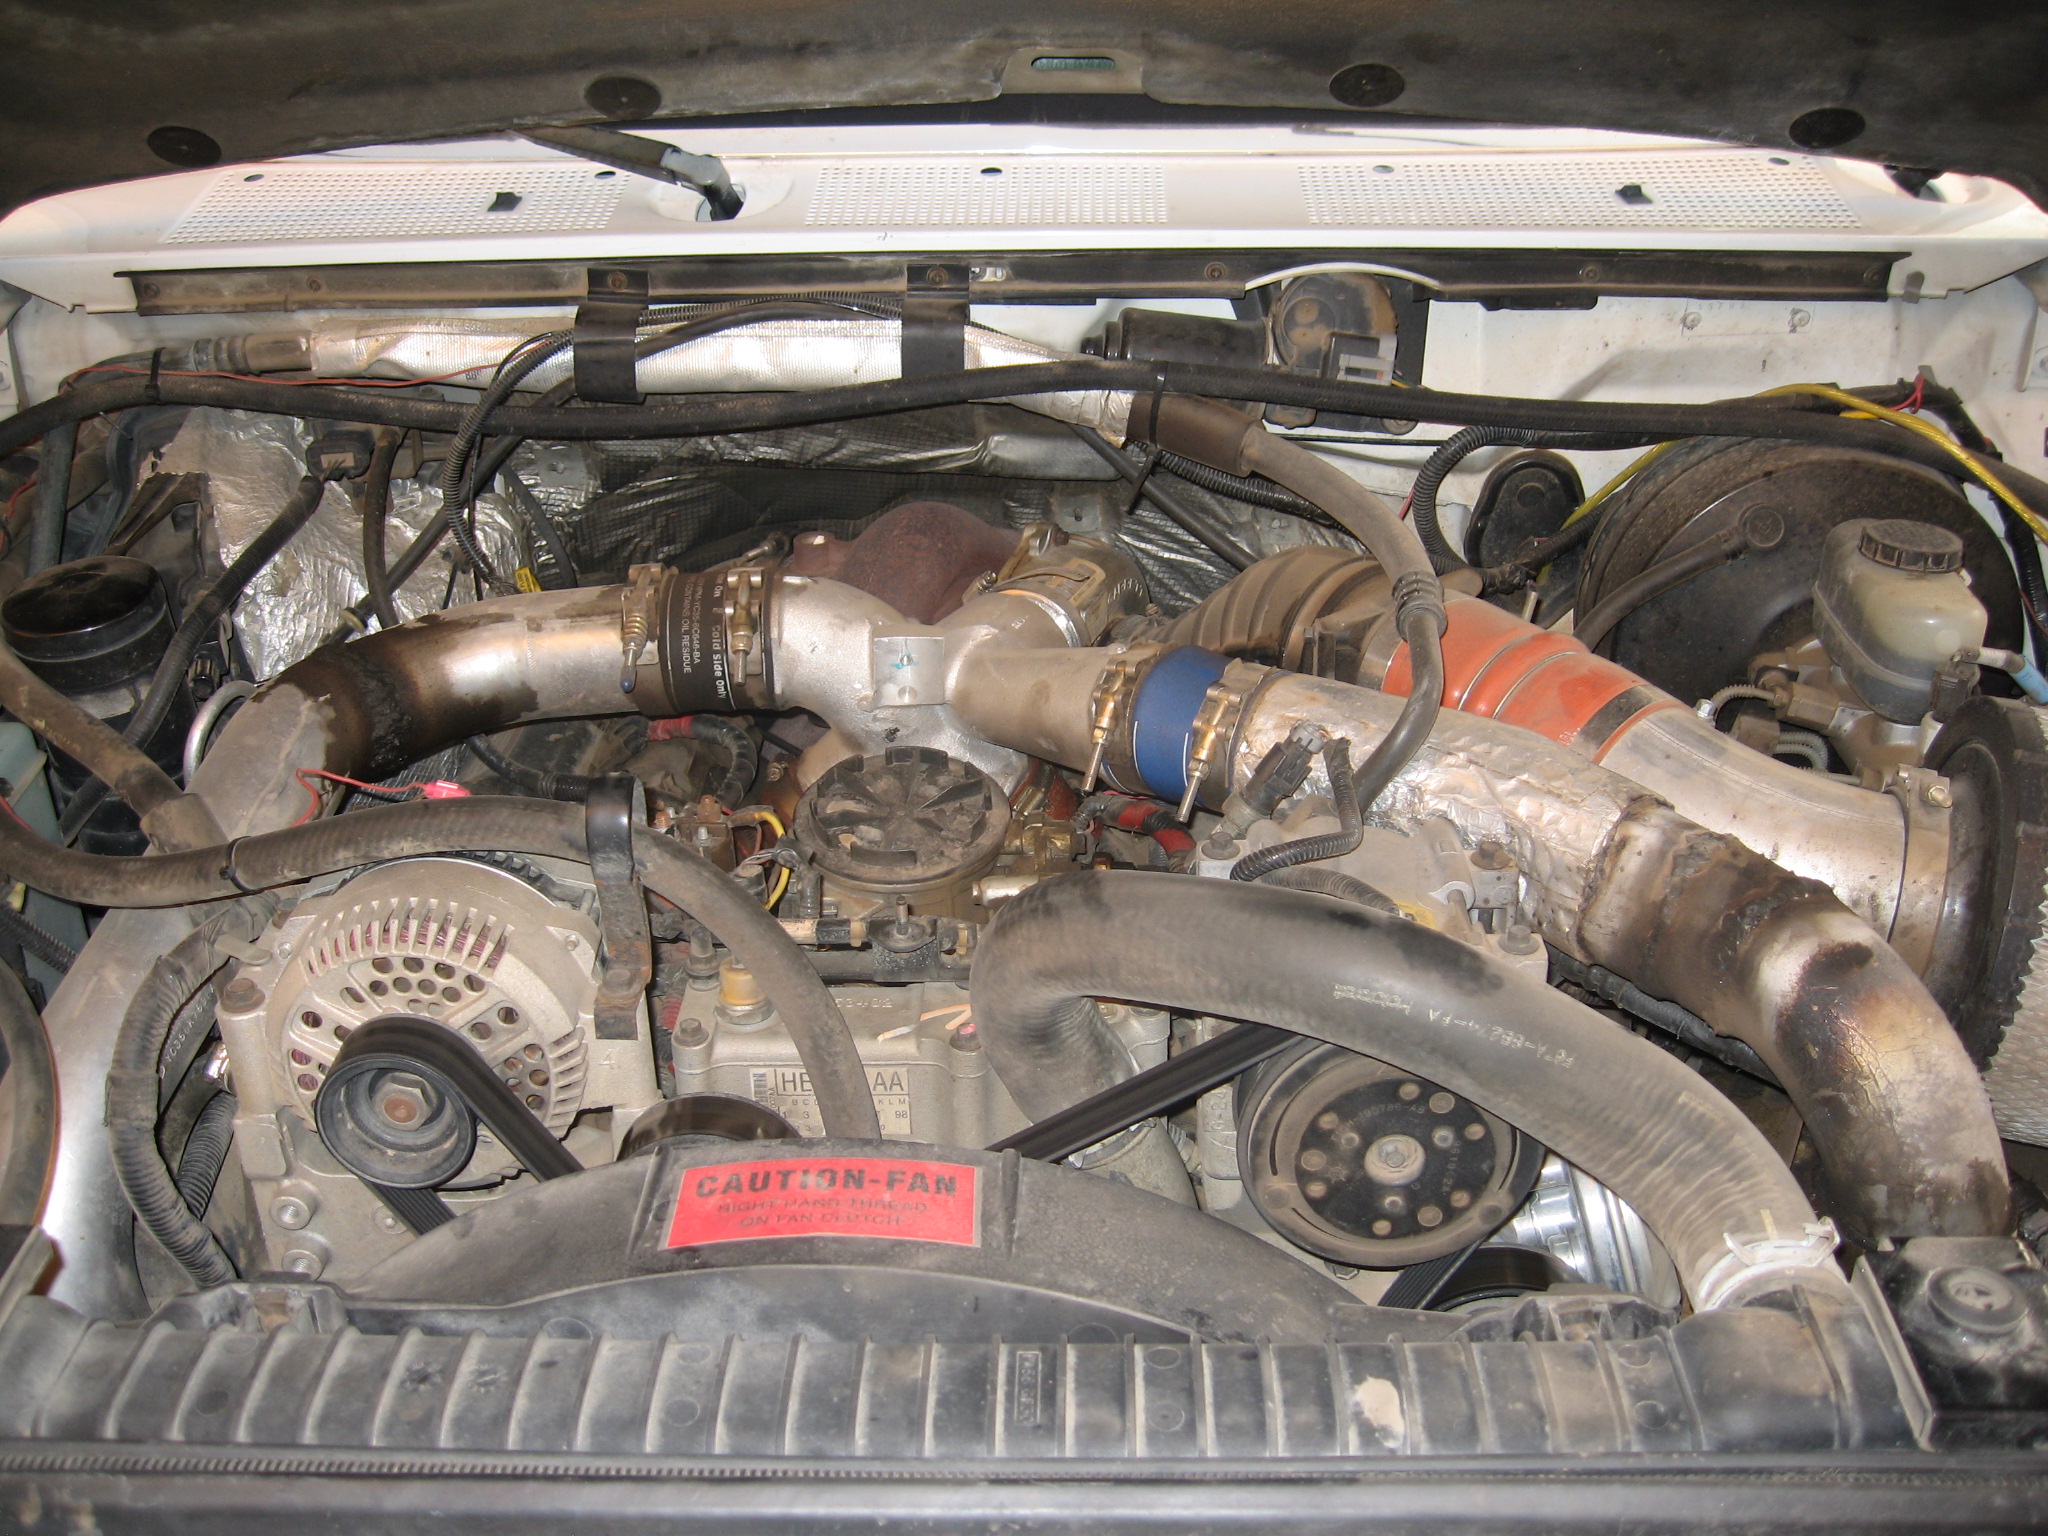
Our test truck is a 1997 Ford F350 with an automatic transmission, four inch exhaust, open element air intake, intercooler, and an aftermarket chip programmed specifically for larger injectors. This truck in stock form put down 164 horsepower, uncorrected, at an altitude of 5280 feet.
 First,
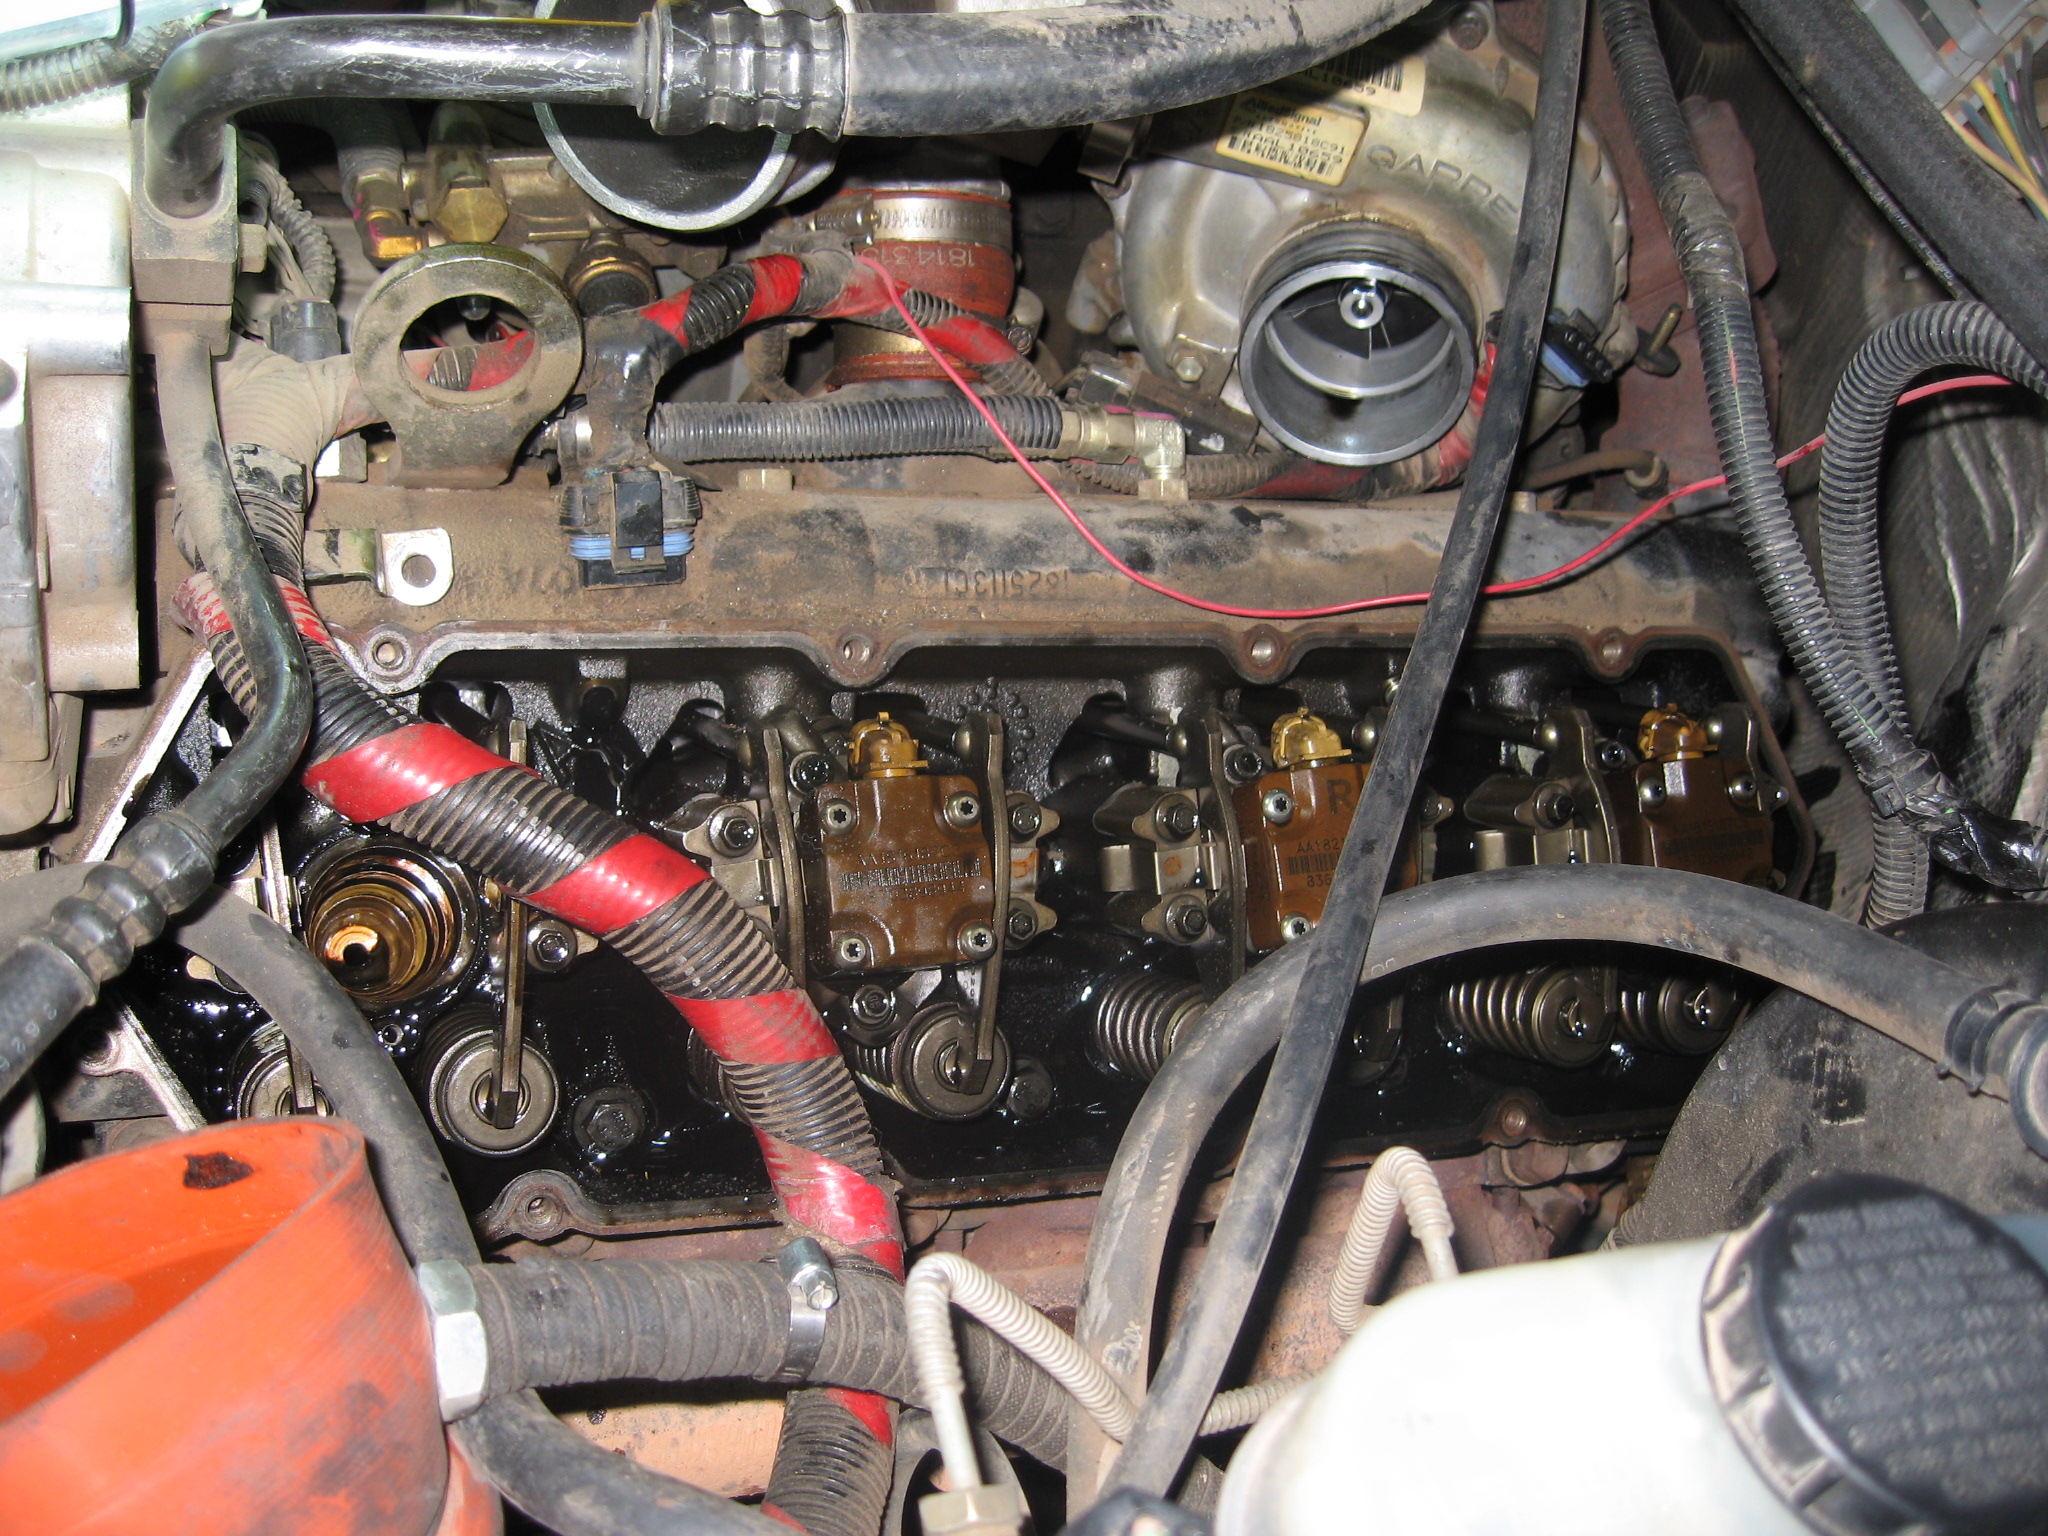
if you have never removed your valve covers and injectors, take some
time and read the Service Manual or do some research on the internet, it
really isn’t that hard. You will need some extensions and wobbly sockets
to reach the rear valve cover bolts. Once you have the covers off,
remove the injector harnesses and valve cover gaskets and set them
aside. Remember that the Power Stroke valve cover gaskets are reusable,
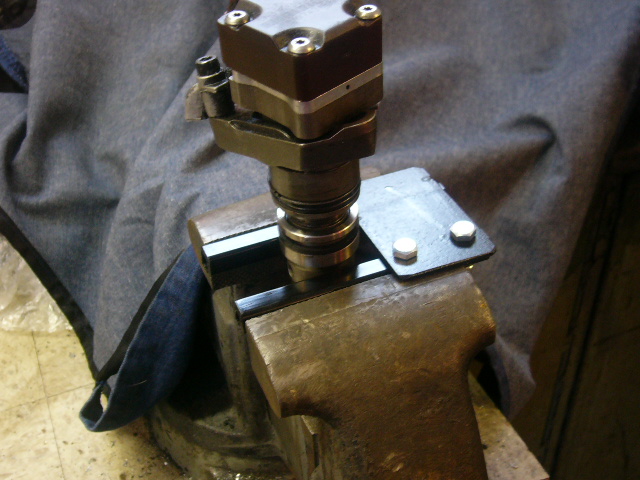
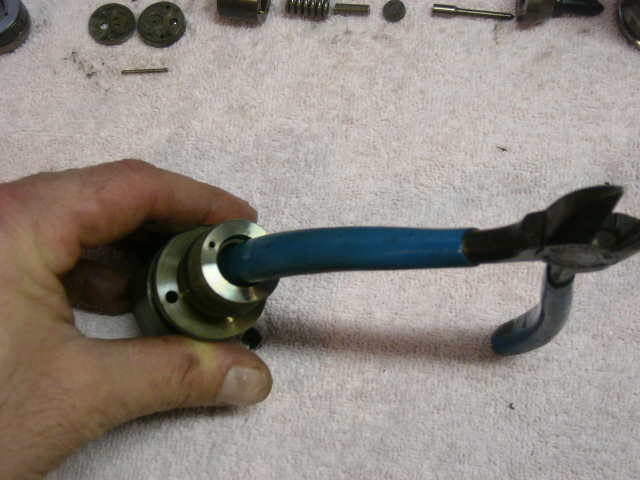
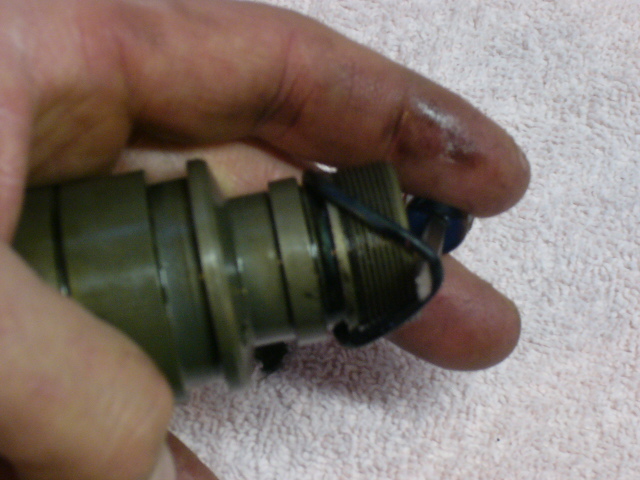
so don’t throw them away! Remove the top bolt on each injector, slide
the clamp off of the lower bolt, and you can pry the injector out of the
bore. It may be necessary to remove the injector oil spout from the top
of the injector prior to removing the injector, I found it easier this
way.
First,
if you have never removed your valve covers and injectors, take some
time and read the Service Manual or do some research on the internet, it
really isn’t that hard. You will need some extensions and wobbly sockets
to reach the rear valve cover bolts. Once you have the covers off,
remove the injector harnesses and valve cover gaskets and set them
aside. Remember that the Power Stroke valve cover gaskets are reusable,
so don’t throw them away! Remove the top bolt on each injector, slide
the clamp off of the lower bolt, and you can pry the injector out of the
bore. It may be necessary to remove the injector oil spout from the top
of the injector prior to removing the injector, I found it easier this
way.
|
|
|
|
|
|

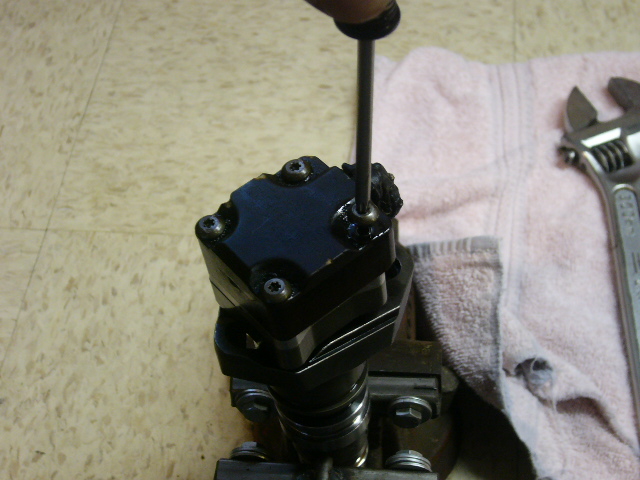
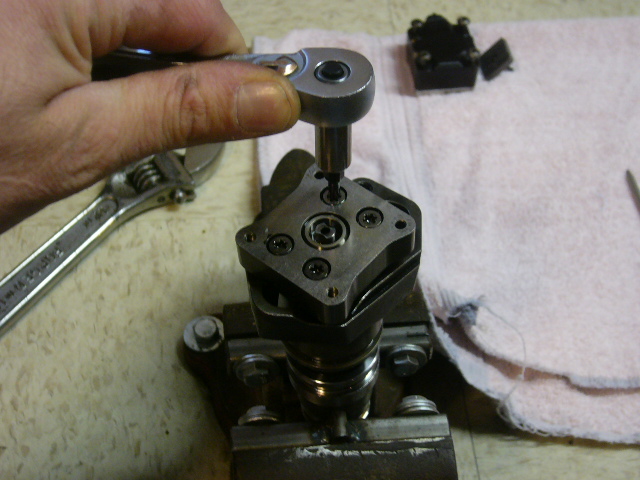
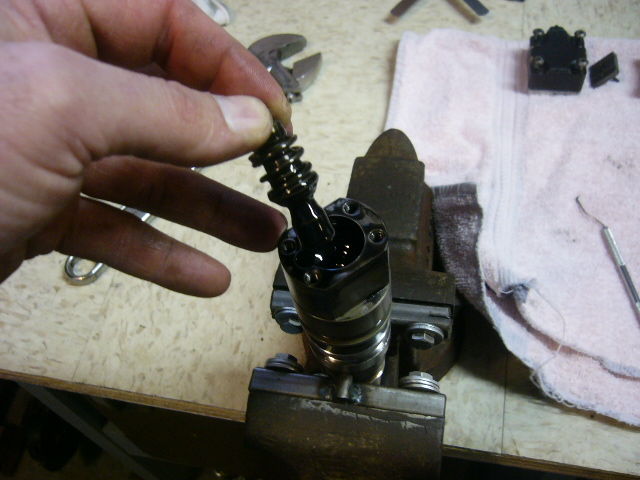
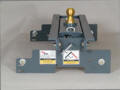
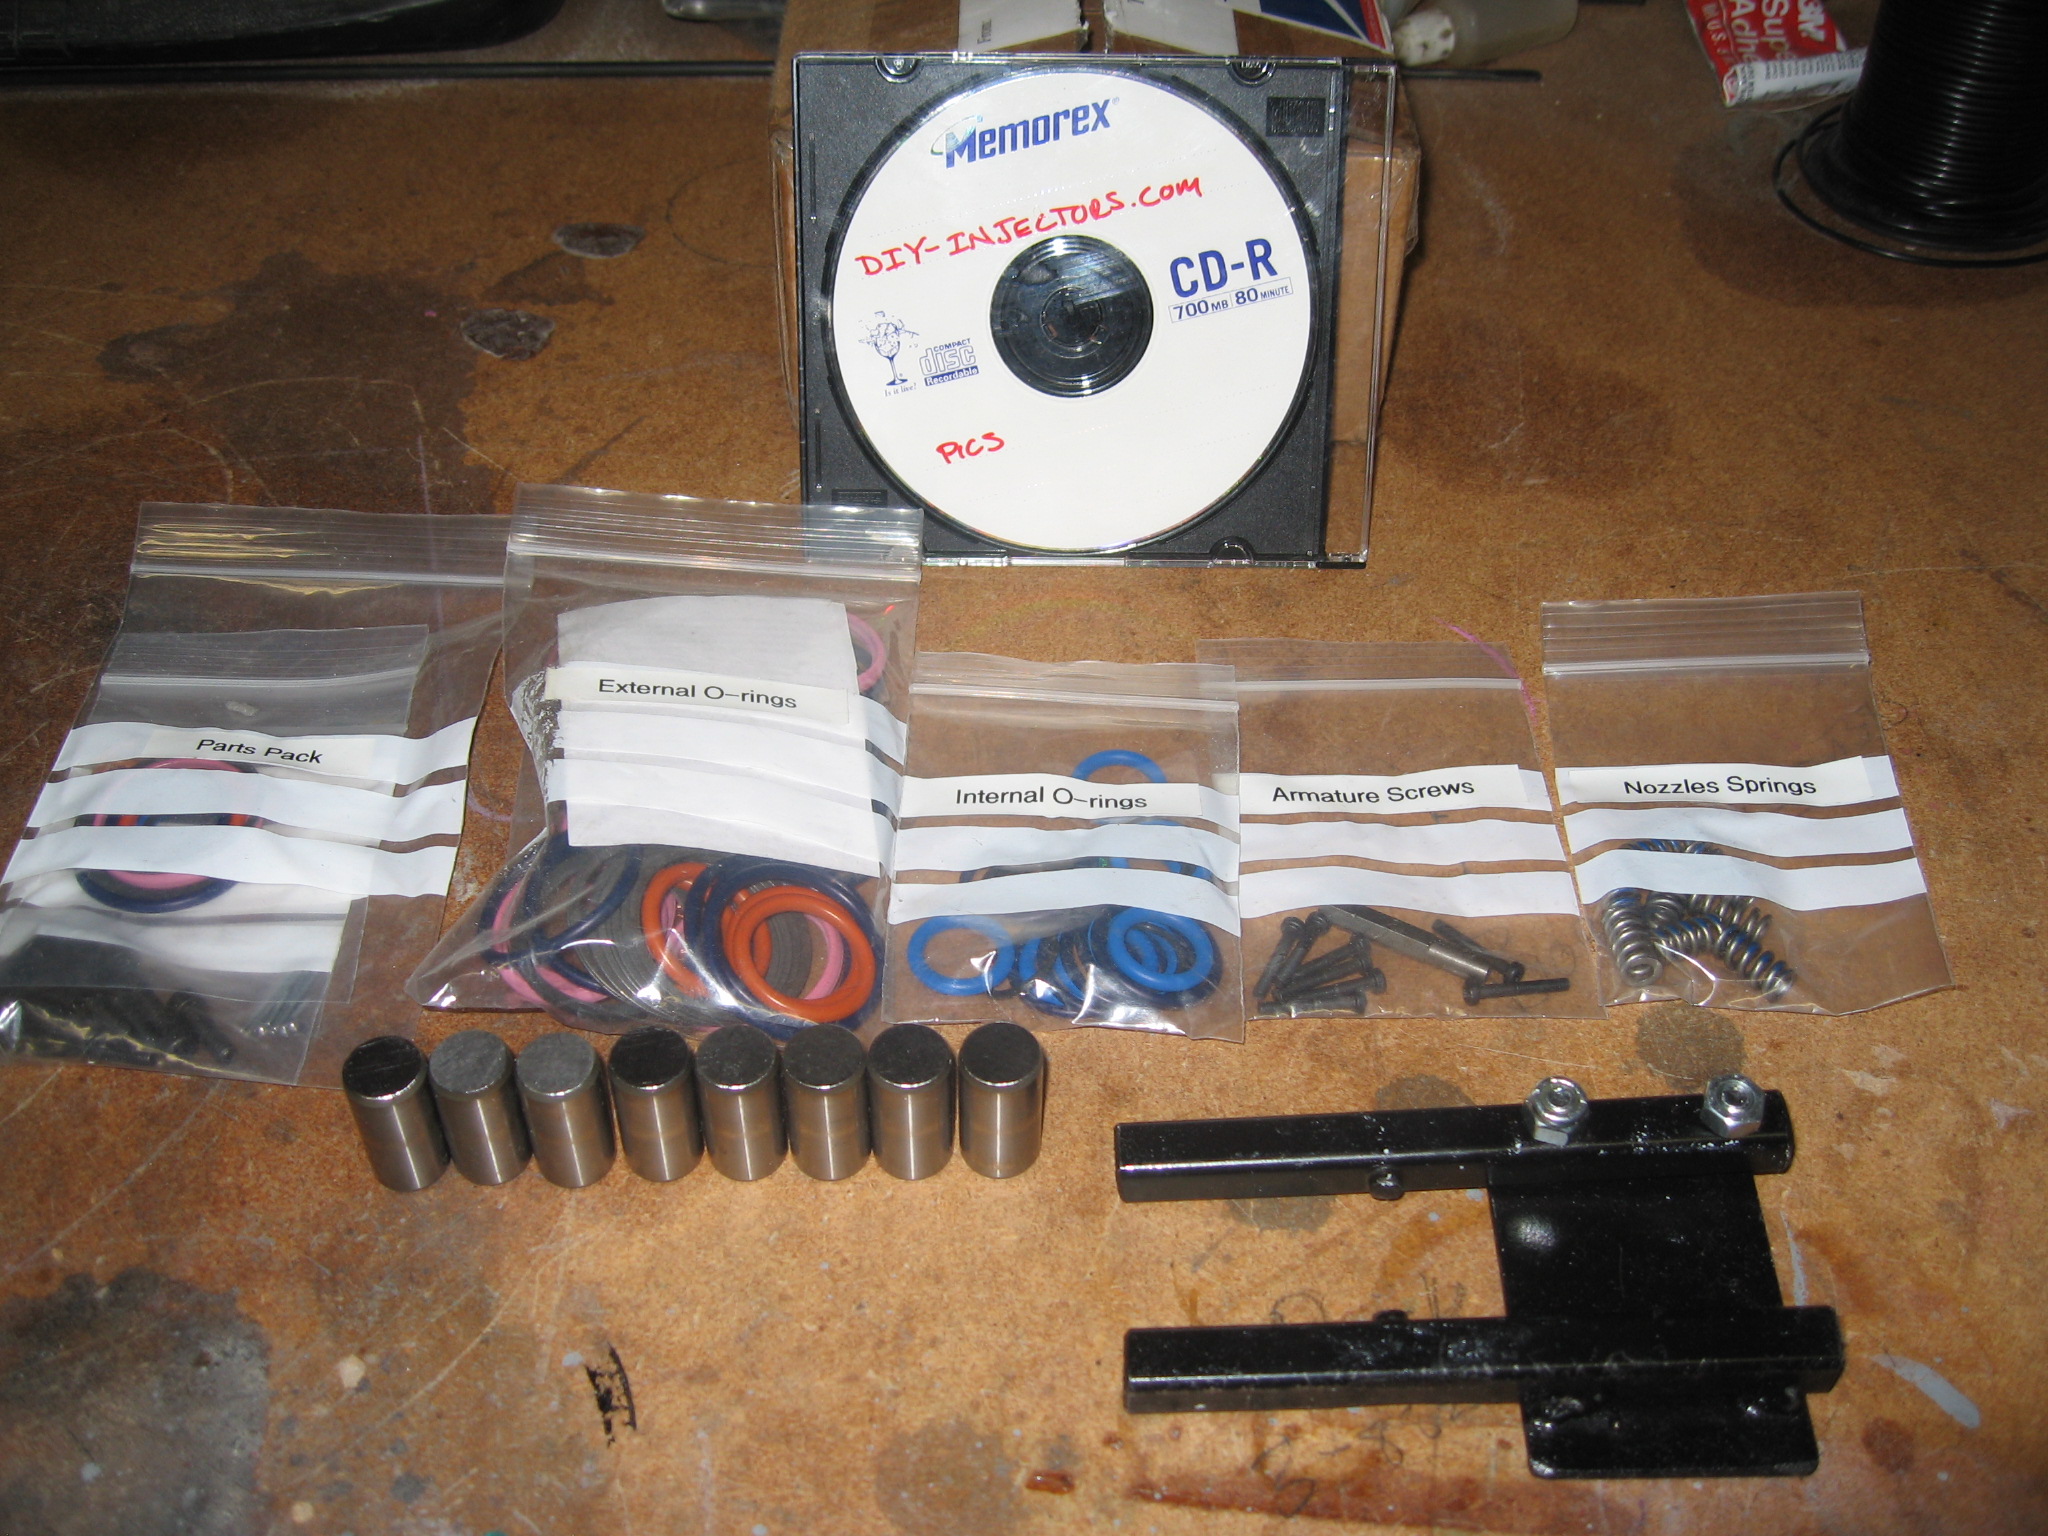
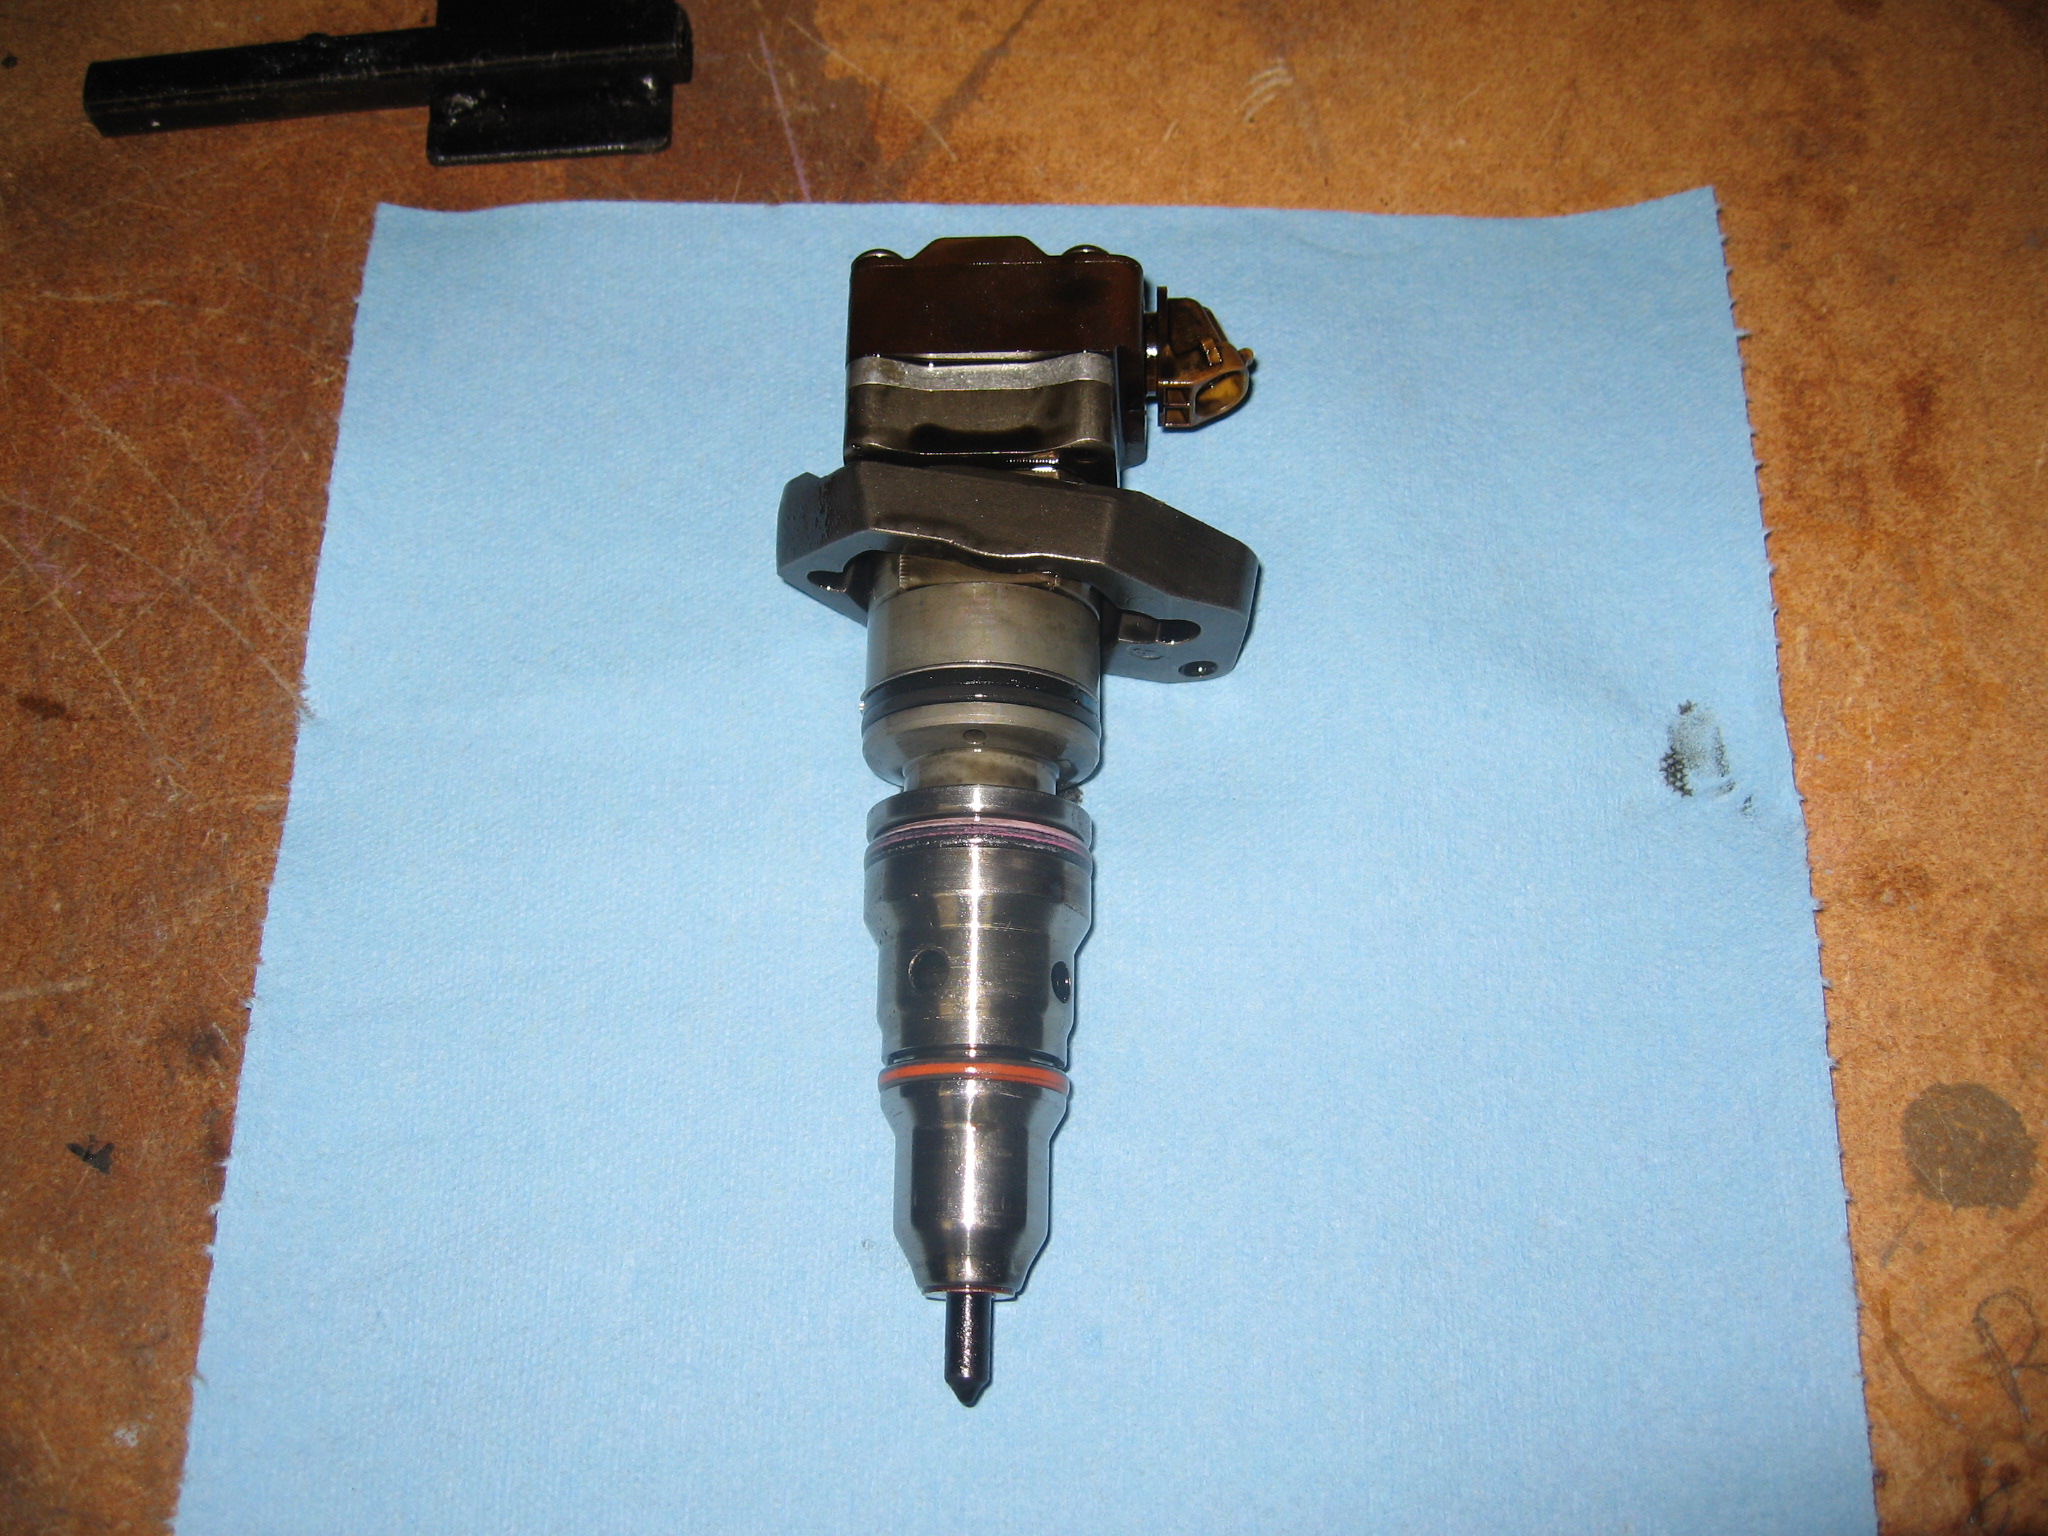
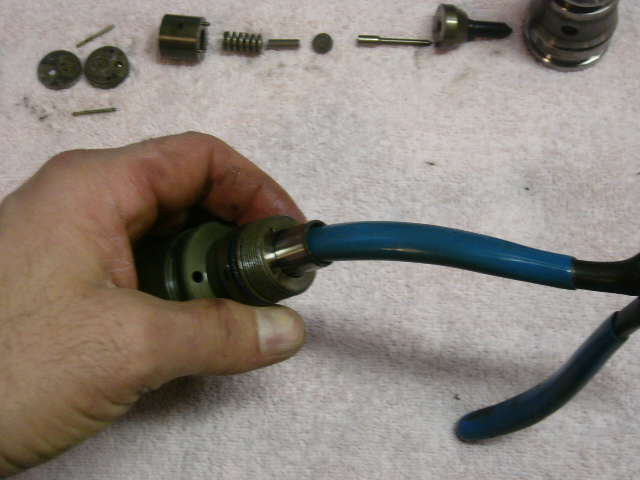
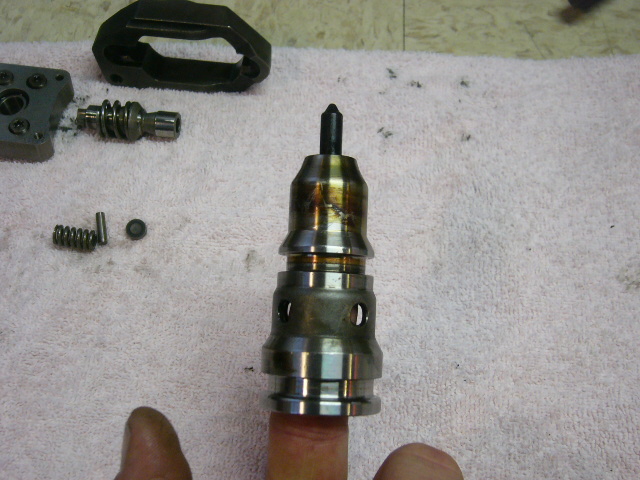
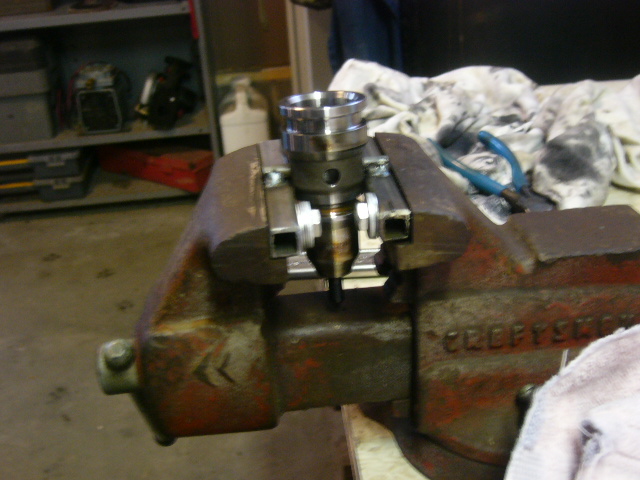
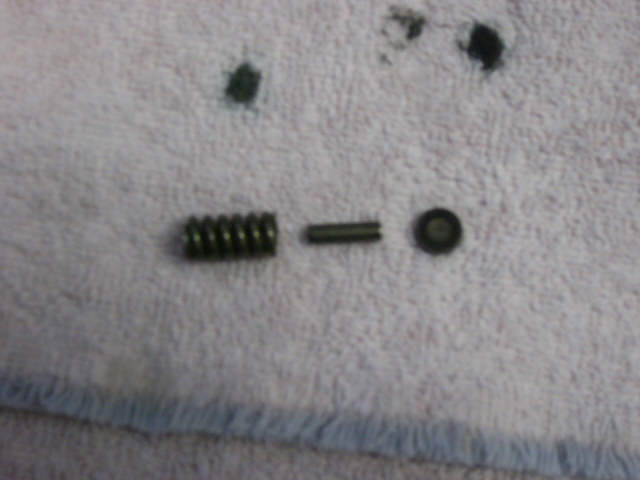
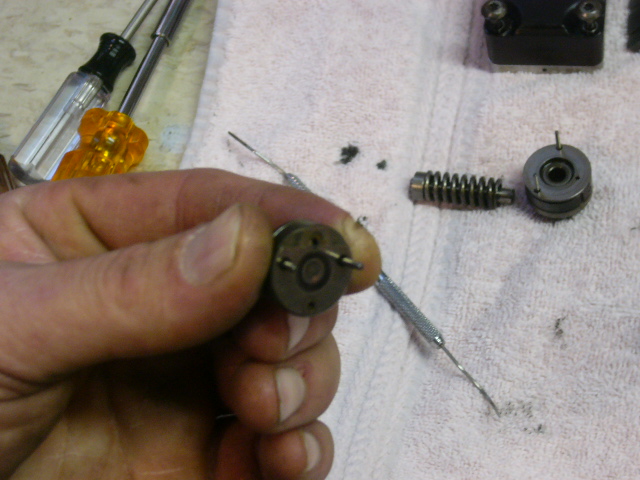
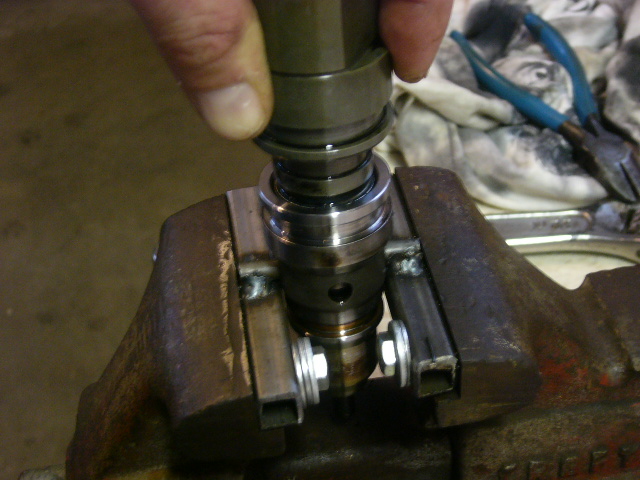
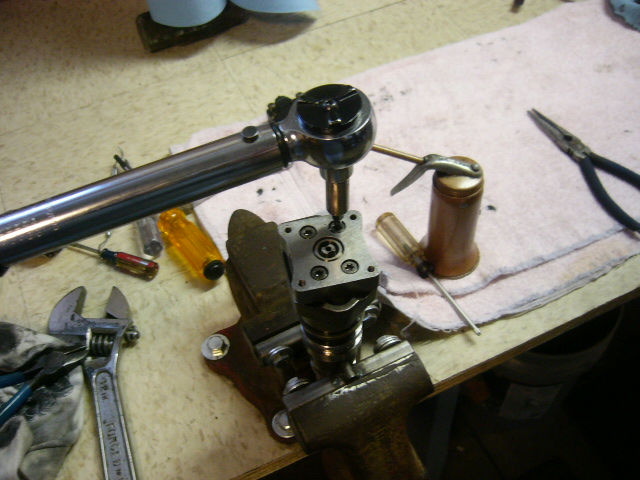
Remove the first injector and overhaul it according to the supplied instructions. Make sure you have a clean area! Injectors and dirt do not mix well! Disassemble the injector per the instructions, clean everything thoroughly, and inspect for broken nozzle springs or a scored barrel and plunger. If the barrel and plungers are scored, you can get replacements through DIY-injectors. All of mine checked out fine so I was able to reuse all factory components.
|
|
|
|
|
|
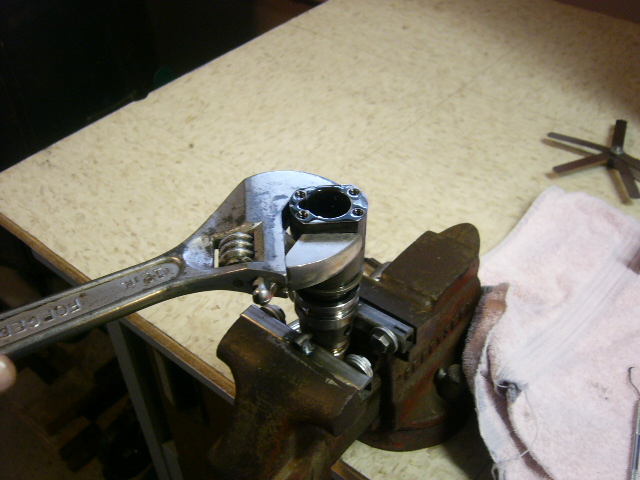
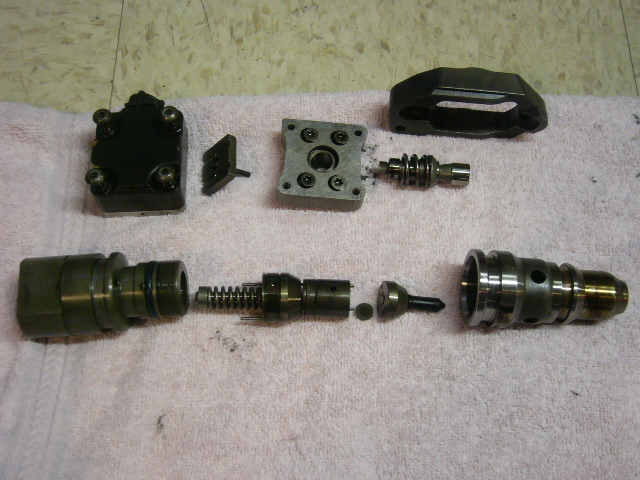

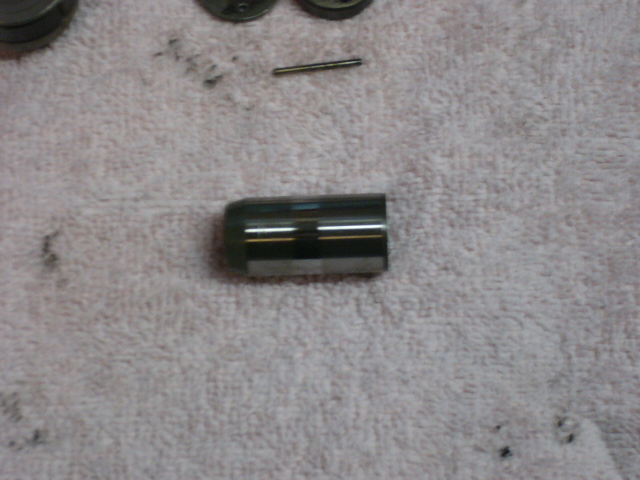
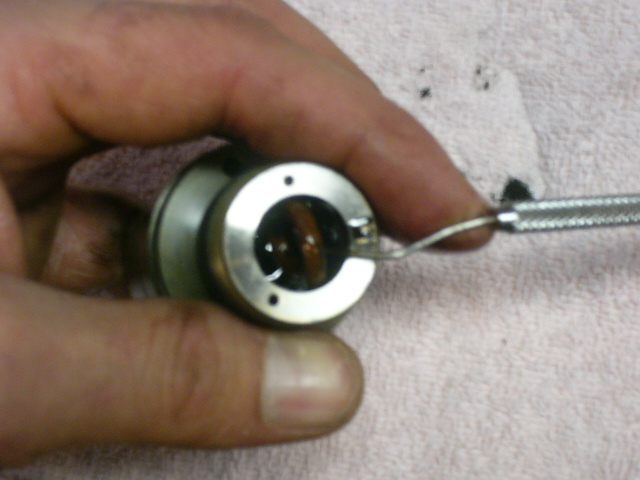

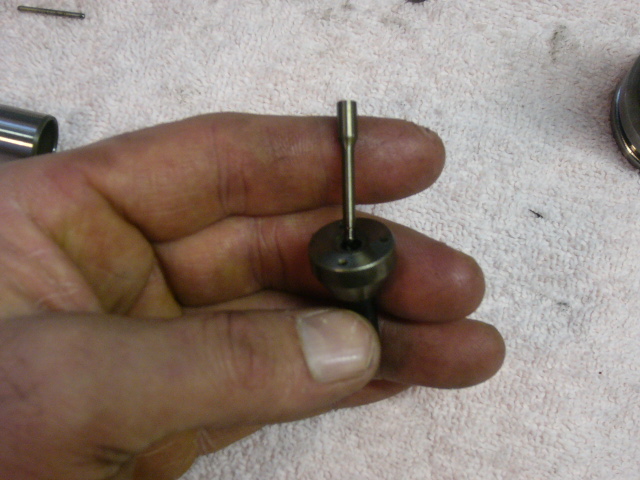
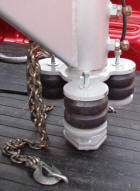
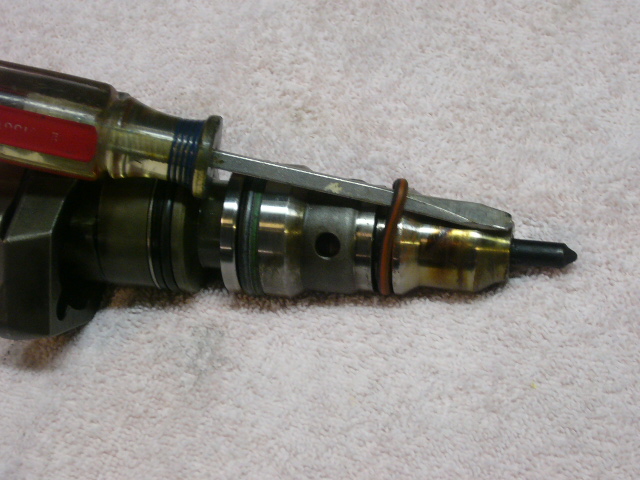
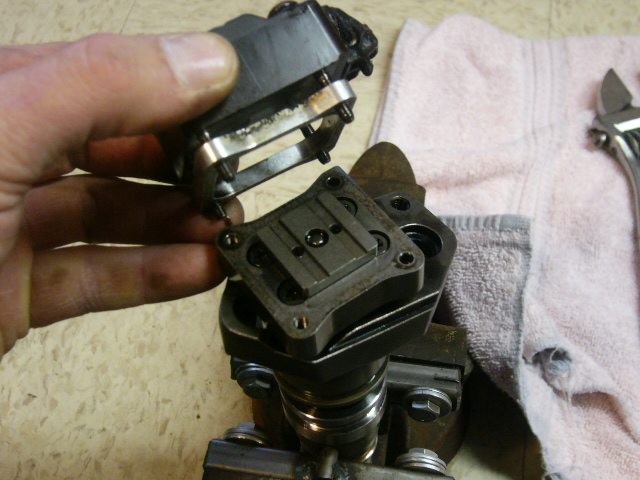
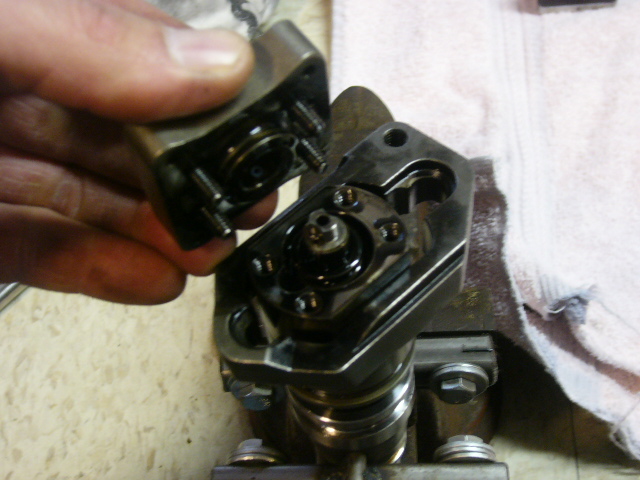
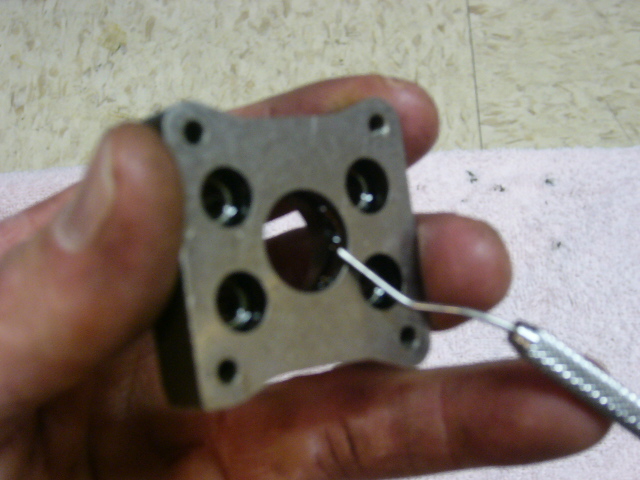
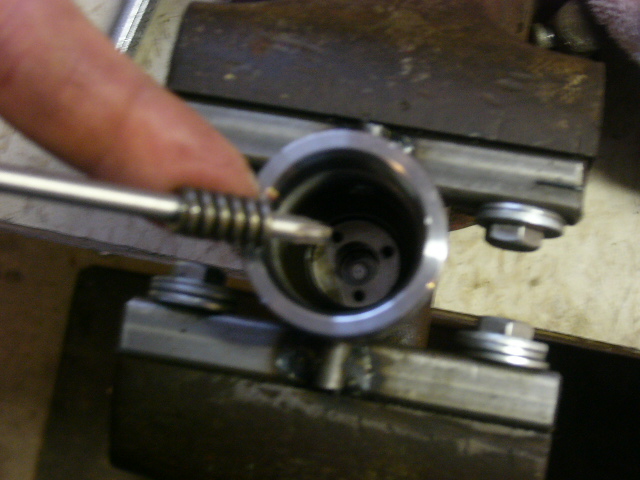
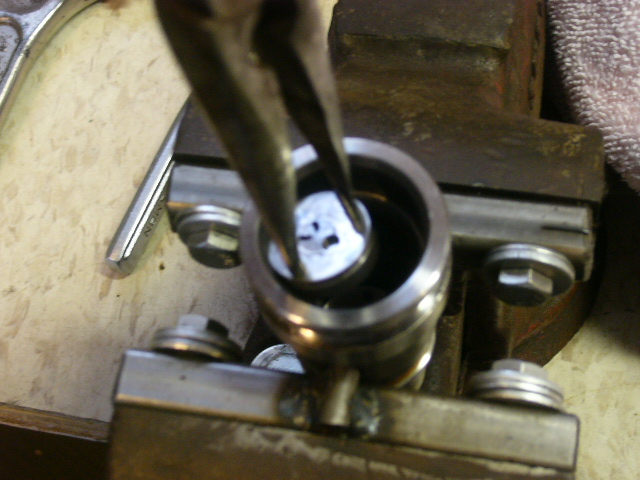
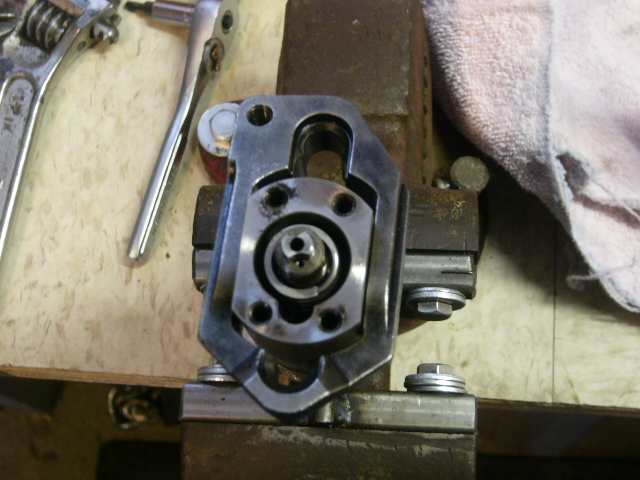
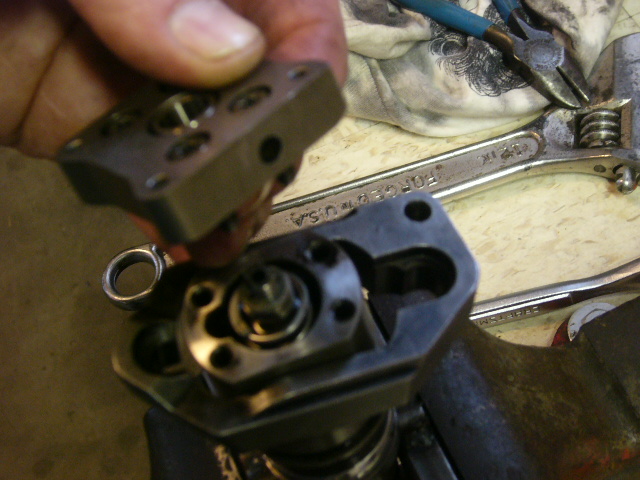
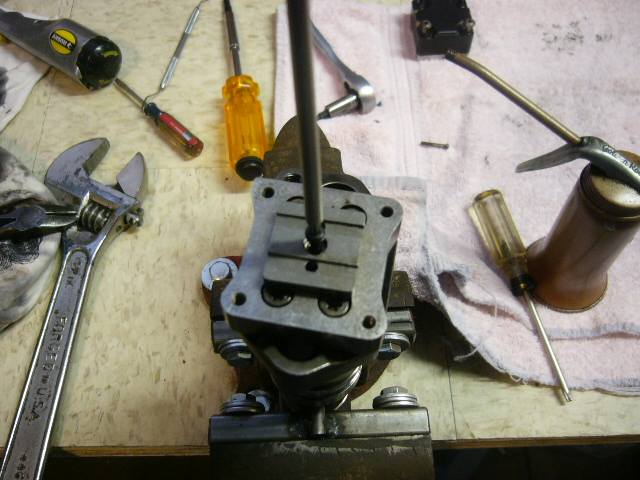
Replace the three internal o-rings, clean the nozzle and you’re ready to reassemble. When reassembling, you will either replace the intensifier piston with a shorter piston, or have yours machined to the spec provided with the kit. The intensifier pistons are the key to recalibrating the injectors.
|
|
|
|
|
|
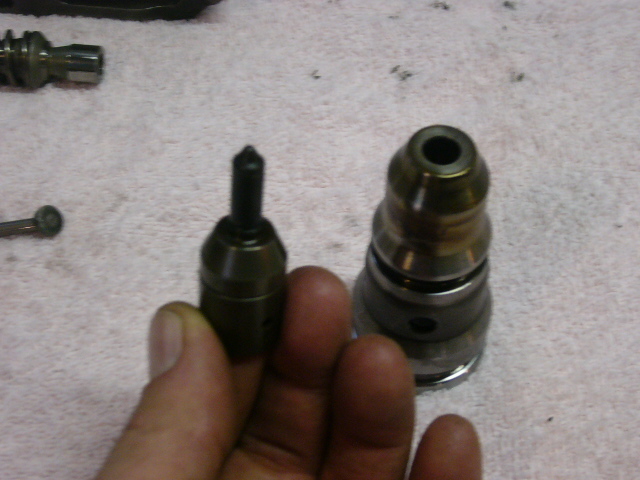
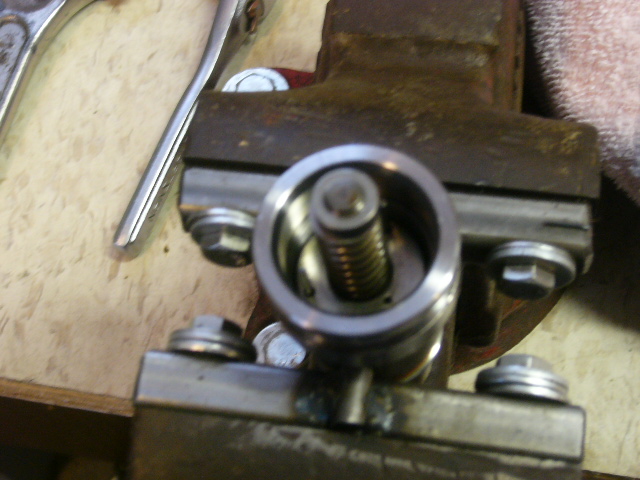
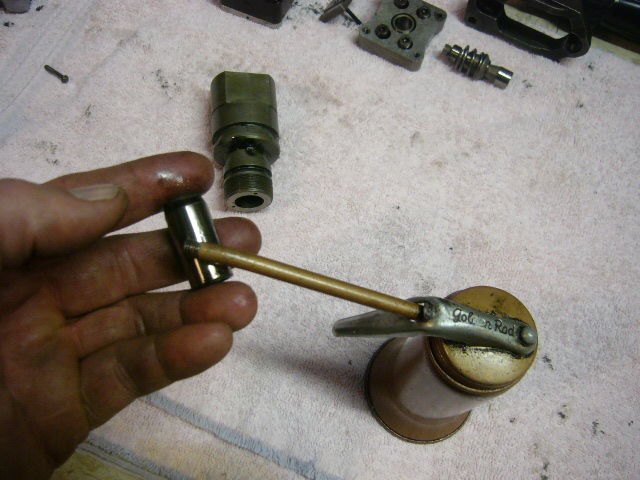
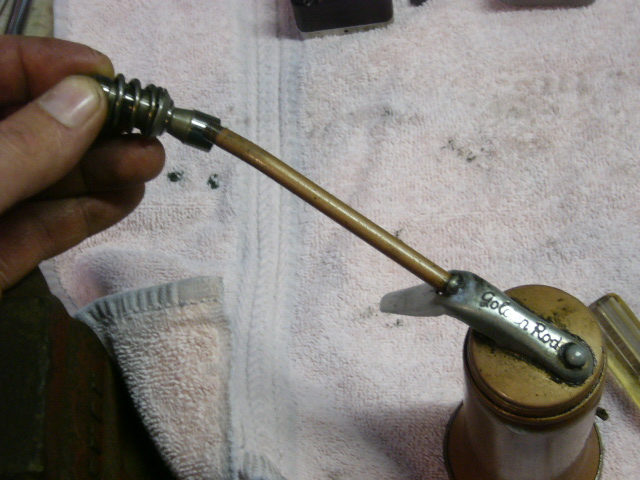
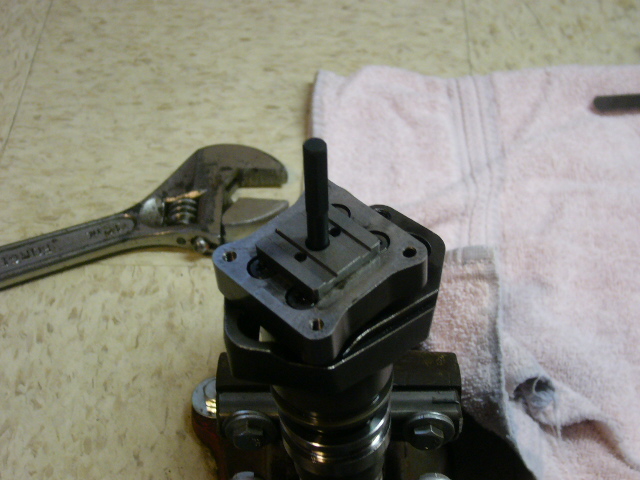
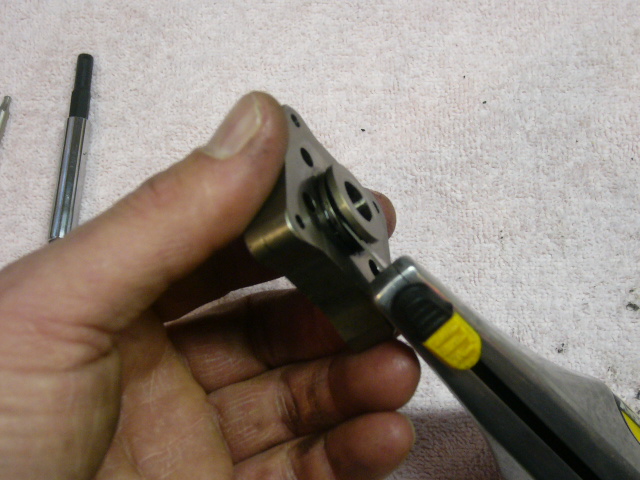
Factory injectors flow around 95cc’s of fuel per shot, the DIY-injectors, when finished, will flow a whopping 160cc’s! Again, we chose to purchase the pre-machined pistons so that we could have everything needed and not have to disassemble all eight injectors at once and run the risk of losing parts while waiting for the machine shop to finish up our pistons. Finish the reassembly and install the external o-rings. Lube the outside of the injector and you’re ready to reinstall!
|
|
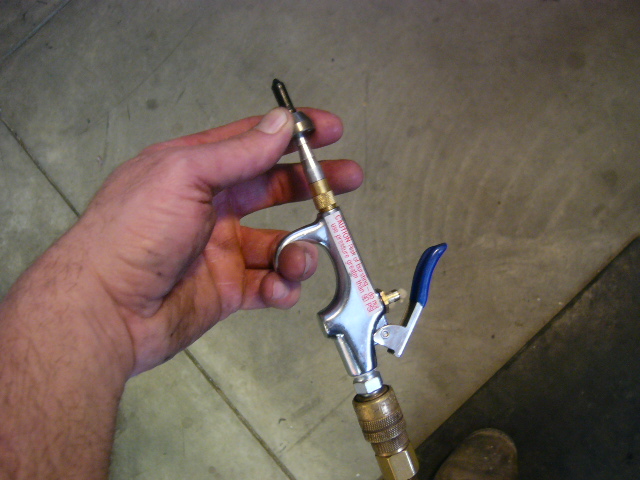
Now is a good time to replace the glow plugs, since you already have the valve covers off and it will be necessary to remove the glow plugs later. Move on to the next injector, and the next, until you’ve rebuilt all eight. Once you have rebuilt and reinstalled all eight injectors, remove all eight glow plugs. Set the valve covers in place and secure them with one or two bolts. Using a remote starter or just a plain old screwdriver, jump across the starter solenoid and crank the engine for about 30 seconds to evacuate all of the fuel and oil from inside of the cylinders, if you don’t do this, you will almost definitely hydro lock the engine and it will not crank. Do this two or three times, and then reinstall the glow plugs, wiring harness, valve cover gaskets, and valve covers.
Crank then engine and fire it up!! It may take a little while before it will start but this is normal since you’ve drained the oil and fuel rails by removing the injectors and it will take a little time for them to refill and start firing the injectors. Be ready for a lot of smoke on initial start up and on the first test drive! There will still be a lot of oil in the cylinders so it’s going to smoke like you’ve never seen it smoke before until all of the oil gets burned out.
It may take 20-30 minutes of driving to get all of the air out of the fuel and oil system, after that, normal drivability should return and the engine should stop smoking. By now, you should be feeling a seat of the pants difference in acceleration! While these injectors by themselves will give you a modest increase in power, the most gains will only be seen with a custom chip programmed for larger injectors. An aftermarket intake, exhaust, and gauges (especially a pyrometer) are highly recommended, especially if you are going to be towing.
Daily driving is wonderful, the engine idles smooth and accelerates normally under normal conditions. Fuel mileage hasn’t suffered at all as long as I can keep my foot off of the floor! When the pedal is to the metal, watch out! At wide open throttle, the larger injectors take over and the truck takes off like a rocket! Off idle, acceleration is much improved and the truck pours out thick black smoke until the turbo catches up! Did I mention that turbo boost was at a maximum of 16 psi with the stock injectors? Now it is close to 30 psi! Exhaust gas temperature’s stay in the normal range, even when hot rodding the truck.
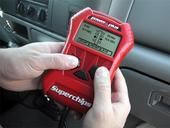
We ran the truck after modification on a Superflow Dyno and we are now putting down 322 horsepower to the rear wheels!! Keep in mind that this is also with the custom chip. Unfortunately we weren’t able to get any torque numbers at this time, the dyno operator didn’t have the correct cables to hook up to the truck, so we will have to settle for the horsepower figures only at this time.
Overall, this modification had me pretty apprehensive at first. I really wanted modified injectors, but I didn’t want to ruin mine in the process. With the DIY-Injecors.com, this is not a worry. Each step was very well described and the pictures proved invaluable! The first injector took me about an hour to overhaul because I was following the instructions to the letter and studying each photo. Each injector after that only took about twenty minutes.
Thanks to Jim for putting together such a great kit for all of us who want more out of our trucks, but don’t have the funds to buy off the shelf injectors. DIY-Injectors.com also has a kit for the 1999-2003 trucks with the split-shot style injectors. They offer a basic kit to overhaul only and keep them stock, and can even custom build a kit to flow almost whatever you want. If this seems a little overwhelming, you can also send your injectors to them to be rebuilt and sent back!
If power is what you’re looking for, DIY-Injectors.com has the answer! Please visit them at www.diy-injectors.com and tell them the guys at MrTruck sent you!
|
|